For today’s Plate to Pixel post, we’re talkin’ ISO. To be perfectly honest, I’ve been staring at those letters on the screen of my camera for over a year now and had no idea what they meant until, oh, yesterday. So here’s the breakdown: ISO indicates how sensitive a film is to light. Low numbers make it less sensitive and produce a crisper image, while higher numbers make it more sensitive and produce a grainier image with more “noise.” Noise is not always a bad thing though, it can add style and character to a photo.
If your camera is in auto mode, it will automatically adjust the ISO based on your shooting environment. But it’s interesting to play around and see how the different levels on the scale effect the photo.
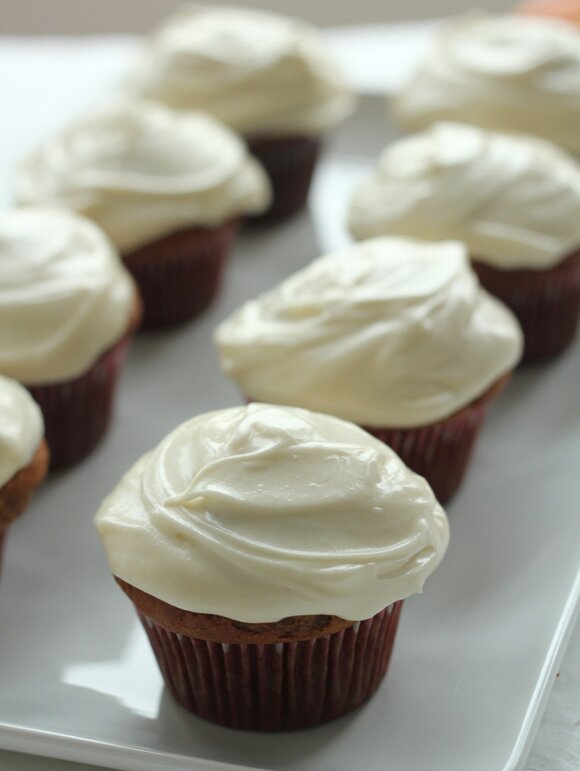
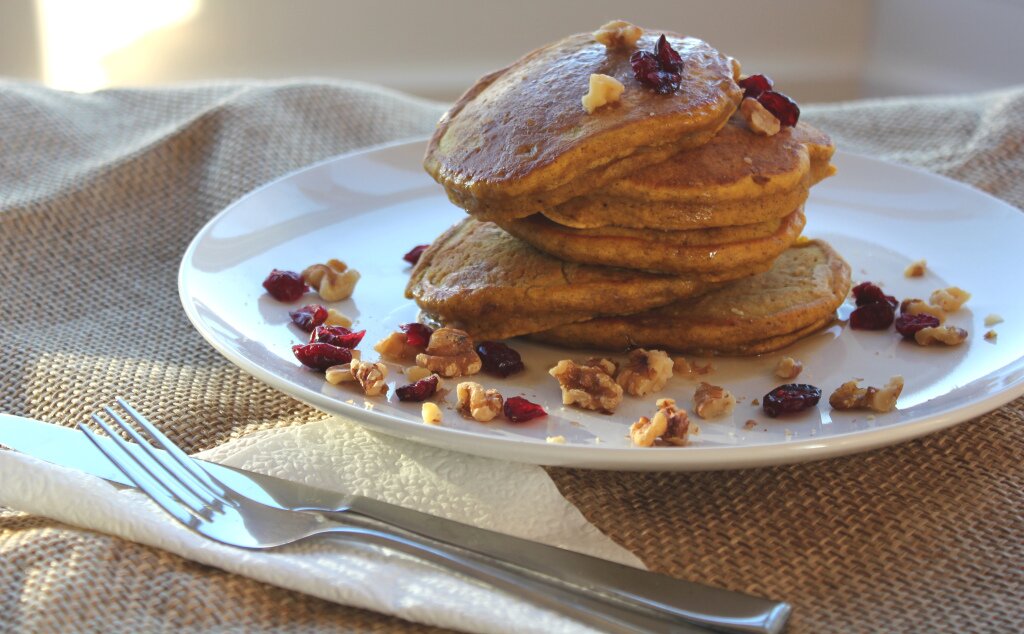
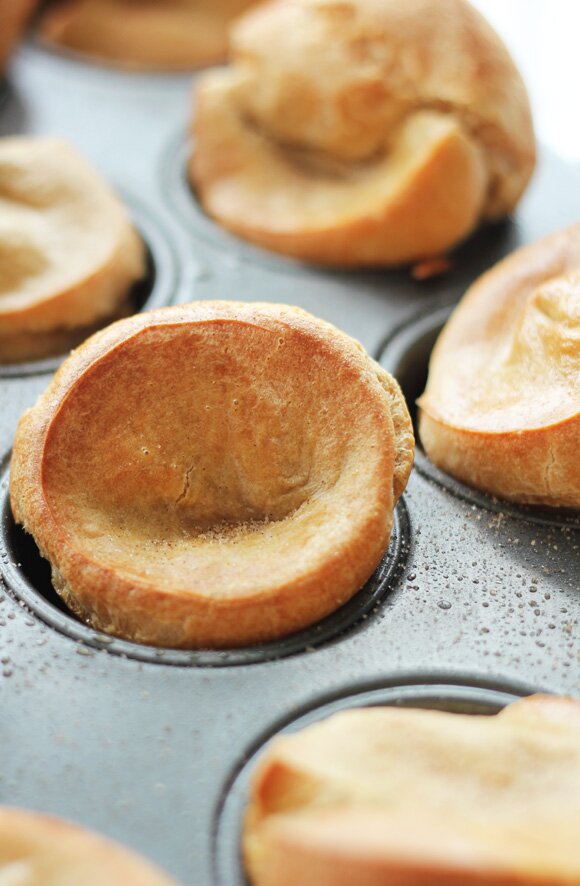
If you’re shooting in natural light, you’ll want the ISO on a low setting, either 100 or 200. You can’t see much of a difference between these two photos, but when drawing a comparison I find it helpful to really look for the grainy-ness or noise in the photo on the right in comparison to the one on the left.

The differences between the above four photos is very subtle, especially since these were taken in natural light (an ideal shooting environment). If you aren’t rushing to shoot a dish, play around between levels 100 to 800 to see how the increase in ISO brings more character and style to the photo.

Higher ISO settings are helpful in low light situations, supporting lower apertures (high f/stop!) and faster shutter speeds. It can also help you to create more depth of field. Since these photos were taken in daylight, you can see how the photo with an ISO of 3200 gets much lighter. That’s even more so the case when the ISO is set at the highest setting of 6400.

This is definitely one of those settings where you need to experiment. Photograph different objects, move around the ISO settings, and try it in different lighting situations. My goal is to work with ISO in conjunction with the f/stop settings and shutter speed to better define the style of my photos. Here’s hoping!
Have any ISO tips? I’d love to hear!
More Plate to Pixel posts: Aperture and White Balance


Love this! I’m saving up for a camera and will definitely try this out when I get it.
Hi Clara. Just wanted to tell you that I’m really enjoying this series because I just made an investment in a better camera and am trying to understand all of this myself. So far, automatic mode tends to take a better picture than anything I do! I am enjoying playing with aperture, though, and trying to blur that background. Thanks for all your tips-they’re helping!
Oh I’m so glad! Yes, you must keep playing with aperture- it’s the best for shooting food! Let me know if you have any other questions or food post ideas for this series, I’d love to hear it!
amazing what a difference it makes.
So interesting. Just read a similar post and it has me inspired to play around with my camera more. I always feel so rushed, which is the biggest issue. THanks for this thoughtful post!